
Showing posts with label cake. Show all posts
Showing posts with label cake. Show all posts
5.21.2012
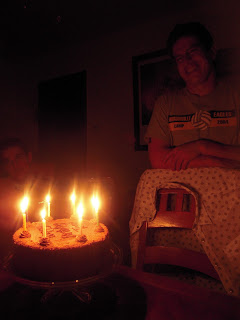
Chocolate PB Cake
This past Sunday was Jacob's birthday, but since he wasn't going to be in town, we decided to "celebrate" a little early.
 I made a chocolate cake with peanut butter filling and crumb coat, chocolate frosting then a chocolate ganache poured over the top. Followed by some chocolate chips for the bottom border and pb balls nested in piped ganache. So rich, so decadent, so good...Too bad I didn't take more time to take pictures in better lighting.
3.25.2011
What have I been doing lately?
Not a whole lot of action over here this past month or so. Brad and I have been pretty busy for one reason or another and more often than not, not in Chicago and if we are, we're running from one place to another. Because of this, I have made a lot of the same things or at times, things that I'm wanting to tweak a little in the future.
Two of the bigger things I have done though are cakes. When I watch Sofia, I will often find myself watching some sort of cake show or another while she is napping. Well this got me itching to try out cake carving. Lucky for me, I have two birthdays coming up.
One for my brother-in-law's birthday (who happens to be a firefighter)
And another for one of Brad's co-workers, a huge and forever a KU fan
Two of the bigger things I have done though are cakes. When I watch Sofia, I will often find myself watching some sort of cake show or another while she is napping. Well this got me itching to try out cake carving. Lucky for me, I have two birthdays coming up.
One for my brother-in-law's birthday (who happens to be a firefighter)
 |
| Ben and his birthday cake |
 |
| I'm still working out the kinks in how to get the frosting super smooth when decorating in this manner |
 |
| A little creative licensing to the back of the truck ;o) |
 |
| I tried my best to model the truck after one of Oshtemo's engines to make it more true to life |
And another for one of Brad's co-workers, a huge and forever a KU fan
 |
| She asked Brad if he could get her a KU cake being a recent grad and love for her alma mater |
 |
| I made a four layer cake, then took the top layer and cut into it to make it into a type of "relief" cake |
 |
| Rock Chalk... |
 |
| Jayhawk! |
 |
| K-U! |
9.30.2010
Almond Butter Cake
Since today is the last day of September, it seems somewhat fitting for me to take the time to transport you towards the beginning of the month for my brother's birthday. A few months before, he had asked if I would be able to make an Almond Butter Cake as he is a huge fan of almond butter. I gladly took the challenge and was awaiting anxiously for the 12th to come. I figured I could use almost any kind of peanut butter cake recipe since almond butter is made in the same way. Some called me crazy, saying that they didn't think it would work due to the texture difference between the two but I was determined to try it. Especially since cakes make from almond butter are hard to find (though cakes made from butter and almond extract/paste are in an abundance).
 Anyway, so the day came I decided to try my own variation of Ms. Paula Dean's Peanut Butter Cake. Now, the reason why I didn't post this recipe right away is because I'm still kind of unsure how this whole cake was received. Granted, people said that they enjoyed it (and/despite it's richness) but when I came time for my brother to go home, he asked if he could leave it here so that he didn't have to carry it while he rode his bike/walked (I don't remember the mode of transportation he took that night, I just know it wasn't a car). I said sure and off he went with his girlfriend and another friend of ours.
 Fast forward to three days later and the cake was still sitting on our counter...3/4 full. We weren't eating it because we thought my brother was coming back and my brother just never came back despite the fact that we basically live down the street from one another. So come Wednesday I made the executive decision to cut some of the cake and leave it for my brother, eat a couple of pieces ourselves then haul the rest over to Michigan for my family to enjoy as we were making a quick trip to my homestate. By this time, the cake obviously was starting to loose some of it's peak flavors but it was still received well. So was this a success? Um, yes?
 Almond Butter Cake
recipe adaptation from Paula Deen's Peanut Butter Cake


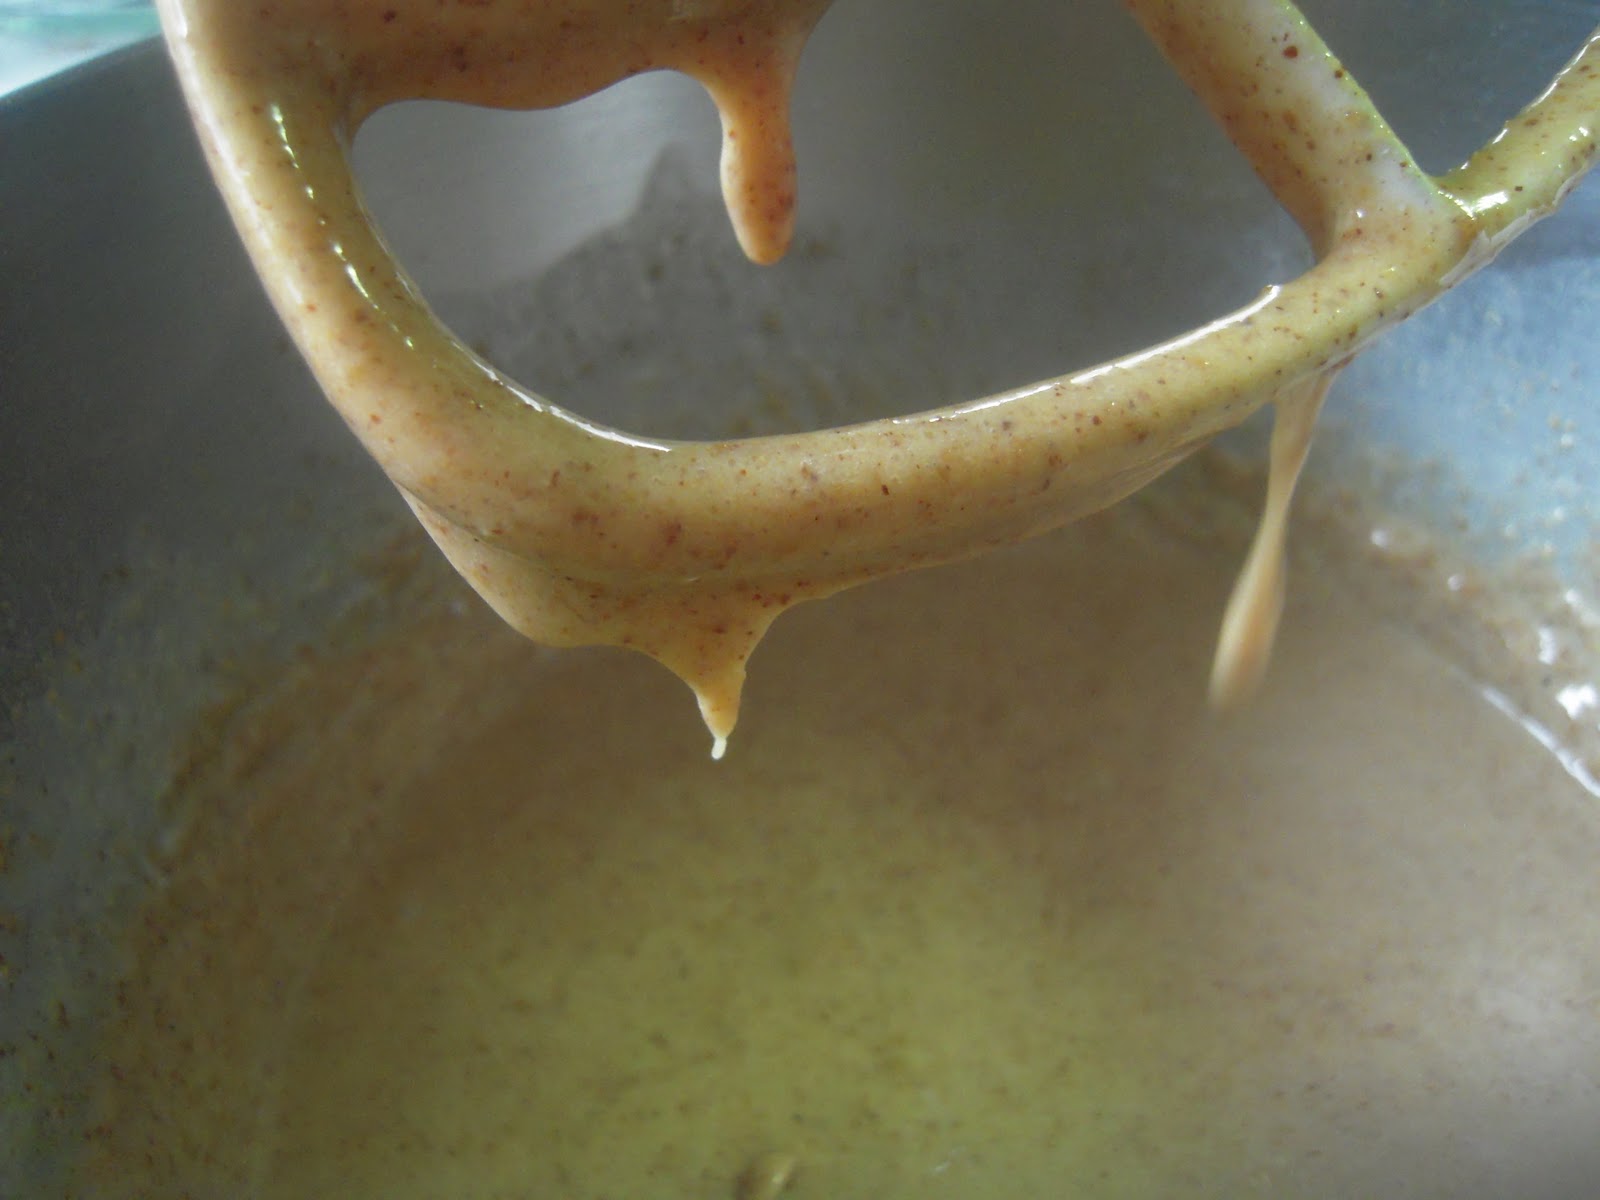
Now, as far as the frosting goes..that was a headache. I had a very hard time getting it to the texture that I liked so I'm not even sure what I ended up adding here and there. But basically, I creamed almond butter together with a little shortening and chocolate along with some vanilla and almond extract then began to add powdered sugar, heavy cream, and cocoa powder until it was a decent taste and texture


recipe adaptation from Paula Deen's Peanut Butter Cake
- 1 cup all-purpose flour
- 1 cup plus 2 tablespoons sugar
- 3 1/2 teaspoons baking powder
- 1 teaspoon salt
- 2 cups graham cracker crumbs
- 1 cup Almond butter
- 1/4 cup butter
- 1 cup plus 2 tablespoons milk
- 3/4 teaspoon vanilla extract
- 1/4 teaspoon almond extract
- 3 eggs
Directions
- Preheat oven to 375 degrees F if baking with a metal dish; 325 degrees F if using a glass dish.
- Sift flour, sugar, baking powder, and salt together. Add graham cracker crumbs
- Cream almond butter and butter together.

- Add one egg at a time, mixing until combined before adding the next egg.
- Alternate sifted dry ingredients with milk and vanilla mixture (dry, wet, dry, wet, dry).
- Beat mixture with electric mixer on low until moistened, and then beat on medium for 2 minutes.
- Bake in greased 9-inch by 13-inch pan for 30 to 35 minutes.

- Do not remove from pan to cool.


Now, as far as the frosting goes..that was a headache. I had a very hard time getting it to the texture that I liked so I'm not even sure what I ended up adding here and there. But basically, I creamed almond butter together with a little shortening and chocolate along with some vanilla and almond extract then began to add powdered sugar, heavy cream, and cocoa powder until it was a decent taste and texture

8.21.2010
Congratulations Dave and Nicki!

Yes, it is true. Two of our good friends, David and Nicki, are about to have a little baby girl! Today was Nicki's baby shower and I was fortunate enough to be able to make the cake.

Nicki is your classic and traditional kind of girl who loves chocolate and white (or yellow) cakes and that is exactly what she got!

With the way that the batter turned out, I ended up doing a three layer cake. The bottom layer was a white cake with vanilla frosting, then came chocolate with chocolate, and topped with a white and chocolate. 
Now I have to admit that I began to run out of time because the day before I didn't prep as much as I could have, and possibly even should have so I wasn't 100% completely satisfied but I was content. Lucky for me, everybody at the shower seemed to love it.

One mistake I did make though, I misspelled Sofia's name! Up until three days ago, I could have sworn that Sofia was with an "f", but then I started doubting myself and then convinced myself that no, they had decided on "ph". Hah, yeah, I should have gone with my first instinct. Whoops. Luckily for me, the parents to be told me not to worry, and that they themselves had had that discussion about which letter to use. Just goes to show you, when in doubt, check it out!

6.25.2010
Nutella Bundt
Have I told you lately that I love Nutella? And did I tell you that I finally bought a bundt pan? Yes my friends, a couple weeks ago, Leigh and I went out to the suburbs and indulged ourselves in the Wilton Tent Sale. Yup, tent sale..meaning saving almost 50% off MSRP...which means I can buy everything that I wanted/needed without making a million and one trips to Michael's so that I can use those 40% off one item coupons at the bottom of your receipt on my "next shopping trip". Haha...
Anyway, I have been saving this recipe in my bookmarks for the day in which I would finally have a bundt pan. Now, though I love Nutella, and would love to bake with it in a bunch of different goodies, I somewhat cringe at the thought of emptying a whole jar of my hazelnut goodness into something that may or may not compliment and enhance the flavor. Plus, when you bake with Nutella, it can get kind of expensive. However, guess what I found the other week? Aldi had their own version of Nutella in the Limited Editions aisle! Granted, I was a bit hesitant ever since my Dollar Store Nutella version but I decided to take a chance and buy one jar. And guess what? It actually tasted good! It actually resembled the "real" thing! I had to go buy more! So this past week I went and bought two more jars. One to eat (since I had already demolished the first jar) and one to bake with.
So back to the Nutella Bundt. I was excited and the pictures at The Food Librarian were tempting. Unlike The Food Librarian, I did not have time to make the yellow cake from scratch so I opted for a box mix. Now, I haven't made a boxed cake in a while so I'm not sure if it was the cake mix or if that's the nature of cakes but the batter seemed pretty runny. And then the Nutella batter I made was super thick. But I crossed my fingers and hoped for the best. Well, I didn't get that gorgeous marble but it still turned out pretty well. I think next time I will somehow add a bit more liquid into the Nutella mixture to lighten it up a bit. I'm not quite sure what that would be yet. Another egg? Some milk? Heat up the Nutella to make it more runny? Add a bit of batter? I'll have to do something that doesn't interfere with the taste of the chocolate and hazelnut. If you have any ideas, let me know. (Oh hey, as I was rereading the directions to rewrite them for you, I realized that The Food Librarian mixed some batter into her Nutella..whoops. I guess I will have to try it next time)
I also covered the bundt with a simple, makeshift ganache (this was the same night as the Stargazer Pie and Tornado Sirens. Actually the sirens were going off while the bundt was still in the over..it had another 6 minutes to go. I was torn between taking shelter or waiting 'til the cake finished. Lucky for me, by the time we got done closing windows, looking for our phones and keys, etc the cake was ready to come out and the oven could be turned off). A slight difference between my bundt and The Food Librarian is that I have the standard size bundt pan and, from reading, it appears she has a smaller version. Therefore the only change I made was a larger portion of the Nutella Batter.

How did it turn out? Well besides the lack of marbleization, it turned out pretty well. The "chocolate" portions of the cake had that true Nutella flavor. And our friend Nicki took a small bite and dug in for a second piece before she had really finished her first.
Nutella Bundt
posted on The Food Librarian (with some adaptation by myself)
Ingredients
Yellow Cake Mix (either boxed or homemade)- plus whatever ingredients the box calls for
1 cup Nutella
1 egg
Directions
- In a small bowl, mix Nutella and egg together to loosen the Nutella mixture. Take 1/3 of the yellow cake batter and mix it with the Nutella.

- Pour the yellow mix in the pan and scooped 1/2 of the Nutella mixture on top of that.
- Repeat with the remaining batter.
- Take a knife and marbled the two batters together.
- Bake as directed.


4.08.2010
German Chocolate Cake

About a month ago I was watching America's Test Kitchen (surprise, surprise) and they decided to deconstruct the German Chocolate Cake. Let me tell you, I was hooked. The chocolate, the frosting, the coconut...I knew immediately that I had to make it for my dad's birthday, though I wasn't sure how since we weren't planning on going to Michigan at the time. Anyway, lucky for me (and my dad), my father decided to come up for the day on the weekend before his birthday so I got to planning.
Hah, planning...right. So just when I thought I had figured everything out (i.e. when to bake it with my crazy work schedule, how I would surprise my dad with it, etc) I come to realize while putting the batter together at 9 o'clock at night that I didn't have everything. And not just little things that I could easily substitute but rather things like sour cream, Eggs, Evaporated Milk, PECANS, COCONUT! All things necessary to make German Chocolate Cake..and all things I apparently thought I had. Grr...so off to the store I went. I was determined to make this cake, not only for my dad but also for Brad to take for his last day of clinicals (Graduation here we come!). So about an hour later I was back and ready to get started.
Anyway, despite my roadblocks, I had a lot of fun putting this cake together. I thought it was quite easy to make even with needing to cook the frosting. I know, the directions look intense but I honestly never got the feeling of being "overwhelmed". And the batter, just look at the batter

German Chocolate Cake with Coconut Pecan Frosting
from America's Test Kitchen
When you assemble the cake, the filling should be cool or cold. To be time-efficient, first make the filling, then use the refrigeration time to prepare, bake, and cool the cakes. Toast the pecans on a baking sheet in a 350°F (175°C) oven until fragrant and browned, about 8 minutes.—the Editors of Cook’s Illustrated
For the filling
4 large egg yolks
One 12-ounce can evaporated milk
1 cup granulated sugar
1/4 cup packed light brown sugar
6 tablespoons unsalted butter, cut into 6 pieces
1/8 teaspoon salt
2 teaspoons vanilla extract
2 1/3 cups sweetened shredded coconut
1 1/2 cups finely chopped pecans, toasted
For the cake
4 ounces semisweet or bittersweet chocolate, chopped fine
1/4 cup Dutch-processed cocoa, sifted
1/2 cup boiling water
2 cups unbleached all-purpose flour plus more for dusting the pans
3/4 teaspoon baking soda
12 tablespoons unsalted butter, softened but still cool
1 cup granulated sugar
2/3 cup packed light brown sugar
3/4 teaspoon table salt
4 large eggs, room temperature
1 teaspoon vanilla extract
3/4 cup sour cream, at room temperature
Method
Make the filling
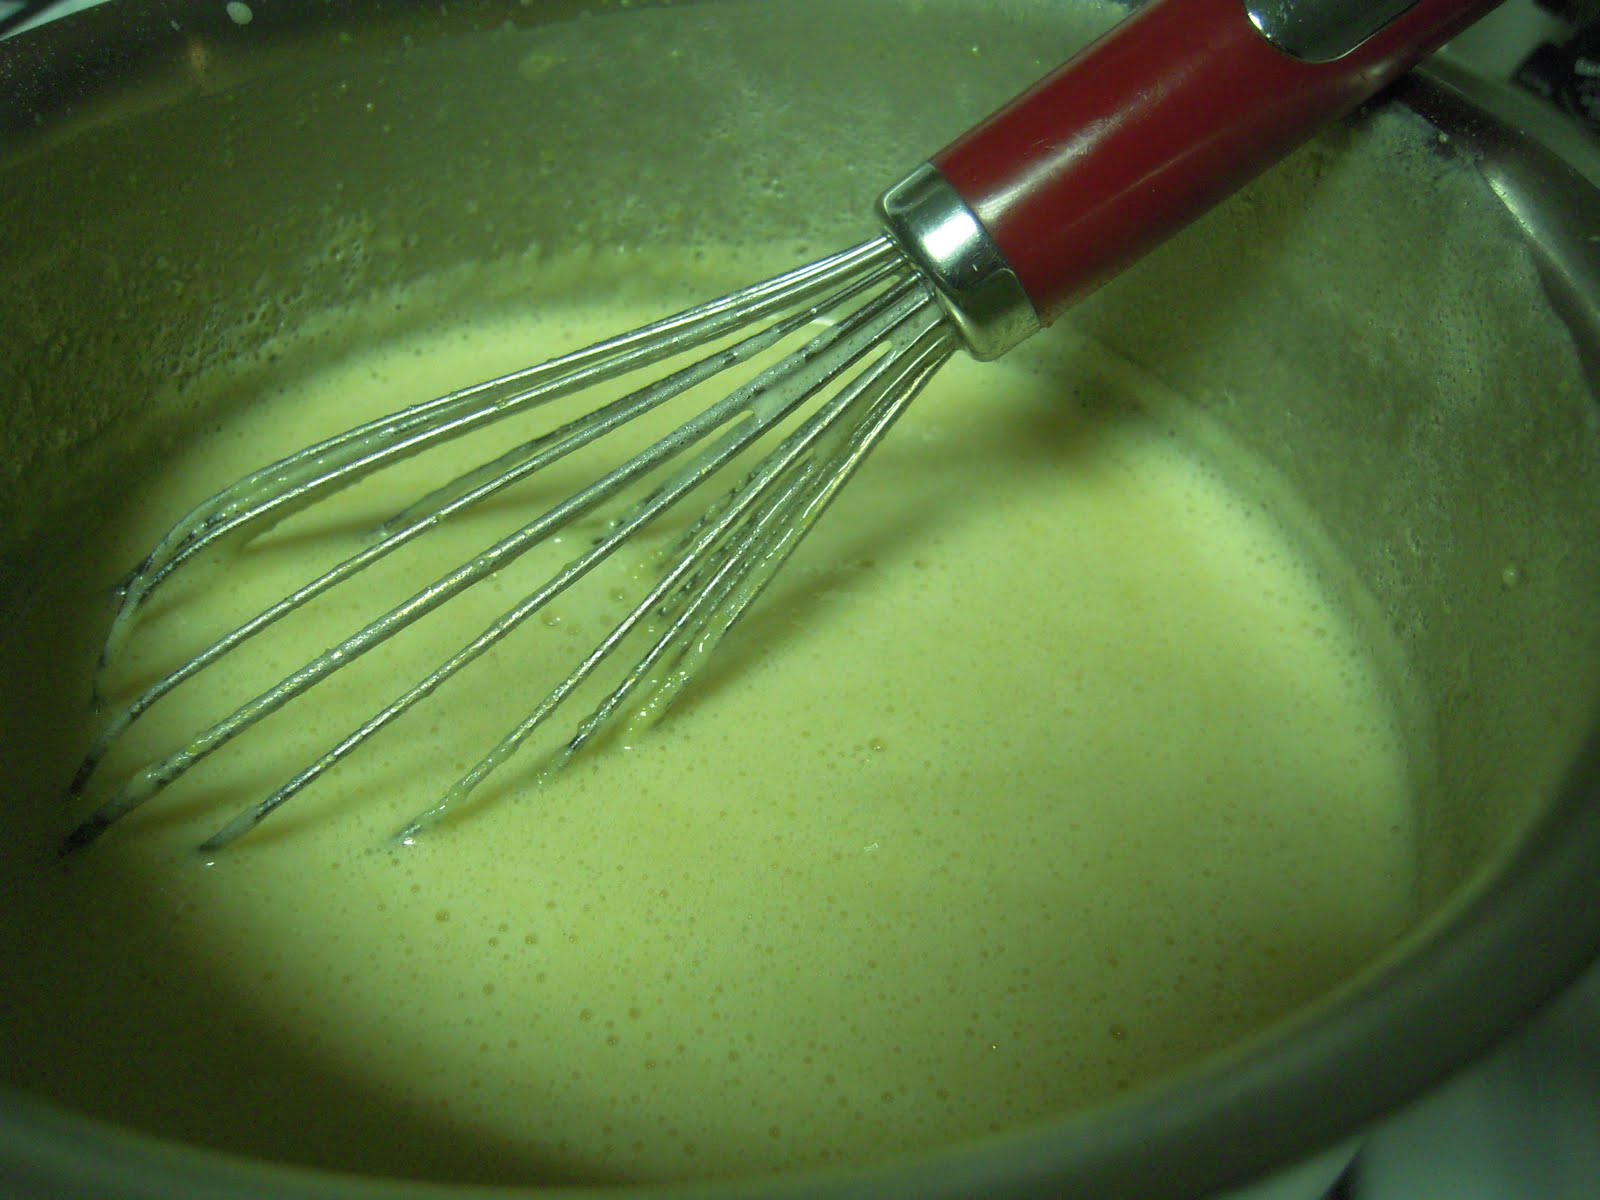
1. Whisk the yolks in a medium saucepan; gradually whisk in the evaporated milk. Add the sugars, butter, and salt and cook over medium-high heat, whisking constantly, until the mixture is boiling, frothy, and slightly thickened, about 6 minutes.
Make the cake
1. Adjust an oven rack to the lower-middle position; heat the oven to 350°F (175°C). Combine the chocolate and cocoa in a small bowl; pour the boiling water over and let stand to melt the chocolate, about 2 minutes. Whisk until smooth; set aside until cooled to room temperature.
2. Meanwhile, spray two 9-inch-round by 2-inch-high straight-sided cake pans with nonstick cooking spray; line the bottoms with parchment or waxed paper rounds. Spray the paper rounds, dust the pans with flour, and knock out the excess. Sift the flour and baking soda into a medium bowl or onto a sheet of parchment or waxed paper.
3. In the bowl of a standing mixer, beat the butter, sugars, and salt at medium-low speed until the sugar is moistened, about 30 seconds. Increase the speed to medium-high and beat until the mixture is light and fluffy, about 4 minutes, scraping down the bowl with a rubber spatula halfway through. With the mixer running at medium speed, add the eggs one at a time, beating well after each addition and scraping down the bowl halfway through. Beat in the vanilla; increase the speed to medium-high and beat until light and fluffy, about 45 seconds.


4. Bake the cakes until a toothpick inserted into the center of the cakes comes out clean, about 30 minutes. Cool in the pans 10 minutes, then invert the cakes onto a greased wire rack; peel off and discard the paper rounds. Cool the cakes to room temperature before filling, about 1 hour. (The cooled cakes can be wrapped in plastic wrap and stored at room temperature for up to 1 day.)
To assemble
1. Stir the toasted pecans into the chilled filling. Set one cake on a serving platter or cardboard round cut slightly smaller than the cake, and the second cake on a work surface (or leave it on the wire rack). With a serrated knife held so that the blade is parallel with the work surface, use a sawing motion to cut each cake into two even layers. Starting with the first cake, carefully lift off the top layer and set aside.
2. Using an icing spatula, distribute about 1 cup filling evenly on the cake, spreading the filling to the very edge of the cake and leveling the surface. Carefully place the upper cake layer on top of the filling; repeat using the remaining filling and cake layers. If necessary, dust the crumbs off the platter; serve.

Note: The cake may be refrigerated, covered loosely with foil, up to 4 hours (if refrigerated longer than 2 hours, let the cake stand at room temperature 15 to 20 minutes before serving).
2.11.2010
Chocolate Graham Cracker Cupcakes with Toasted Marshmallow Frosting

I don't even remember how I came across this recipe a couple weeks ago but I have been admiring it ever since. It was created by Jennifer Shea, owner of Trophy Cupcakes out in Seattle. Martha Stewart apparently had Jennifer on her show back in 2008, sharing this recipe with the world. And here I am, almost two years later just finding out about this glorious treat. And today I finally got the opportunity to try it out!

making graham cracker crumbs with my food processor ^_^
By the way, you should take a look at both Trophy's website and also Martha Stewart's and just look at Jennifer's creations because there is no way that I am at that level of perfection (though I hope to someday make it up there). When Brad and I finally make it out to Washington, this bakery is a must stop for me. I am dying to try their Chocolate Hazelnut (Nutella Buttercream....Yummmm), Chocolate Chip Mint, Chocolate Peanut Butter, Triple Coconut, Snowball, Chocolate Macaroon...must...go...to...Seattle...now!
Anyway, these turned out fantastic! It is of course reminiscent of a S'More and therefore uberdelicious. Plus it gave me a reason to go out and buy a hand held torch ;o). The only "problem" I found was once we started eating the cupcakes. The bottom graham cracker crust on a couple of the cupcakes tended to stick to the bottom of the liner and thus separate from the cake. My friend Erin suggested that next time to try spraying the inside of the liners with cooking spray and that should allow the crumb crust to release much easier. So simple, yet so brilliant. Thanks Erin! So yes, needless to say, these cupcakes were a hit to everywhere I took them. Oh, and I know that the recipe said it makes 24 cupcakes...but I ended up making 24 cupcakes and a small 9 inch cake. Just as a heads up. Commence daydreaming....now.
Chocolate Graham Cracker Cupcakes
by Jennifer Shea of Trophy Cupcakes, originally posted at Martha Stewart
- 2 1/4 cups plus 2 tablespoons sugar
- 1 3/4 cups all-purpose flour
- 3/4 cup plus 1 tablespoon cocoa powder (not Dutch-processed)
- 1 1/2 teaspoons baking powder
- 1 1/2 teaspoons baking soda
- 1 teaspoon salt
- 2 large eggs
- 1 cup whole milk
- 1/2 cup vegetable oil
- 2 teaspoons pure vanilla extract
- 1 cup boiling water
- 1 1/2 cups graham cracker crumbs (from about 20 squares)
- 1/3 cup unsalted butter, melted
- 9 ounces bittersweet chocolate, finely chopped
- Marshmallow Frosting
- Preheat oven to 350 degrees. Line 2 standard muffin tins with cupcake liners; set aside.
- Sift 2 cups plus 2 tablespoons sugar, flour, cocoa powder, baking powder, baking soda, and salt together into the bowl of an electric mixer. Using the paddle attachment, mix ingredients together on low speed.

- In a large bowl, mix together eggs, milk, oil, and vanilla. Add to flour mixture and beat on medium speed for 30 seconds. Scrape down sides of bowl and continue mixing on medium speed for 2 minutes. Add boiling water and stir to combine; set cake batter aside.

- Place graham cracker crumbs, remaining 1/4 cup sugar, and melted butter in a large bowl; stir until well combined.

- Place 1 tablespoon graham cracker mixture into the bottom of each prepared muffin cup. Use the bottom of a small glass to pack crumbs into the bottom of each cupcake liner. Reserve remaining graham cracker mixture for topping.

- Place 2 teaspoons chocolate in each muffin cup.

- Transfer muffin tins to oven and bake until the edges of the graham cracker mixture is golden, about 5 minutes. Remove from oven and fill each muffin cup three-quarters full with cake batter. Sprinkle each with remaining chocolate and graham cracker mixture. Return to oven and bake, rotating pans halfway through baking, until tops are firm and a cake tester inserted in the center comes out clean, 18 to 20 minutes. Transfer muffin tins to a wire rack and let cupcakes cool in pan for 10 minutes. Remove cupcakes from pan and let cool completely.

- Transfer frosting to a large pastry bag fitted with a large plain round or French tip (such as Ateco #867 or Ateco #809). Pipe frosting in a spiral motion on each cupcake.

- Transfer cupcakes to a baking sheet. Using a kitchen torch, lightly brown the frosting, taking care not to burn the cupcake liners. Serve immediately or store in an airtight container, up to 2 days.

Marshmallow Frosting
most likely developed by Jennifer Shea, originally posted at MarthaStewart.com
- 8 large egg whites
- 2 cups sugar
- 1/2 teaspoon cream of tartar
- 2 teaspoons pure vanilla extract
- Place egg whites, sugar, and cream of tartar in the heatproof bowl of an electric mixer. Set over a saucepan with simmering water. Whisk constantly until sugar is dissolved and whites are warm to the touch, 3 to 4 minutes.
- Transfer bowl to electric mixer fitted with the whisk attachment, and beat, starting on low speed, gradually increasing to high, until stiff, glossy peaks form, 5 to 7 minutes. Add vanilla, and mix until combined. Use immediately.

2.08.2010
Great Grandma Carl's Carrot Cake

I may get in "trouble" for posting this but how can I not share "the best carrot cake I have ever tasted!" which has been said by many a people. Whenever you go over to my Great Grandma's house for any sort of occasion, Holidays, Family Reunions, or if you are just plain lucky, you will always find a freshly made carrot cake. This is the carrot cake I grew up on and this is the carrot cake that I compare all others to. When Brad and I got married, my Great Grandma handed down the recipe to me so that I can continue to make it for my family. I hadn't gotten around to making it until a couple weeks ago for a friend's baby shower (as you may or may not know).

(I used the carrot cake as the top tier, which I now realize I should have made the bottom carrot, and top chocolate since the chocolate cake didn't turn out so well which I'm blaming on a particular brand of chocolate that I used and won't be buying again...but that's a different story)
When I actually looked at the recipe closely, I had to call my Great Grandma to make sure I read it correct. "1 1/3 cup vegetable oil? Is that right?" yep, that was right. Vegetable oil, no butter, and 4 eggs...yeah...So I crossed my fingers hoping that my cake would turn out at least somewhat like my Great Grandma's and...it did! The girls seemed to thoroughly enjoyed it, so much so that there wasn't any left to bring home to Brad! Oh well, tough luck for him ;o) No, I'm kidding. He got to eat the crown of the cake that I had cut off.
Great Grandma Carl's Carrot Cake
family recipe passed down to me by Pauline Carl
2 cups sugar
1 1/3 cup oil
4 eggs
2 cups flour
2 teaspoons baking soda
1 teaspoon salt
2 teaspoons cinnamon
3 cups grated carrots
- Grate carrots in a food processor (or blender like my Great Grandma, who adds a bit of water to the mix to help with the process). Drain any water that has been extracted.
- Mix together sugar, oil, and eggs (one at a time)
- Sift together flour, baking soda, salt, and cinnamon then add to wet ingredients

- Beat in 3 cups of grated carrots

(I'm sorry, but isn't this just dying to be licked?)
- Bake at 350 degrees. 40 mins for 2 10" pans, 35 mins for 3 9" pans or 50 mins for a 9x13" cake.
- Frost and enjoy!

Great Grandma's Cream Cheese Frosting
1 lb Powdered Sugar
1 stick Butter
8oz of Cream Cheese
1/4 teaspoon vanilla
- Allow cream cheese and butter to come to room temperature.
- Beat ingredients together.
- Frost cake and add nuts on top.

(That's my Great Grandma's Recipe in the background)
Subscribe to:
Posts (Atom)