10.27.2010

Heirloom Apple Dumplings

fall is here! i love it!
The name of a well known children's book among teachers and the exact sentiments of my emotions when autumn comes around. One beautiful thing about fall, is the apples. Fresh, crisp orchard apples. Not the ones that you can buy in the supermarket but rather the ones you get from a farmer's stand or a small independent grocery store if you can't make it to the orchard yourself. I miss my mitten state.

With apples, comes lots of warm and tasty apple desserts. And to be honest, I've already gone through about 3 large bags of apples. ^_^  What? I can't help if it I just come across way to many tempting recipes.
Anyway, my brother's future mother-in-law heard of my love of orchard apples and offered to bring me a large bushel of apples and apple cider. Yes! Yes! Yes!

My first goal was apple cider donuts, but that is for another day. My second spree came in the form of Apple Dumplings. I had never made these before and after looking at a variety of recipes, realized that "dumplings" is a very loose term as there were quite a bit of variations out there.

I finally settled on "My Sister's Kitchen", not only because the dumplings looked great but also I became partial to the blog name. It also appeared to be a unique recipe, using an apple peeler/corer/slicer and an entire apple.
So I flipped on my food processor to blend up some dough and got out my apple peeler/corer/slicer and cranked out some apples and went to work. An hour later, I packed up the dumplings and rode my bike over to my brother's apt to deliver the goods. And goods, they were. Even Angela who had said she was going to swear off sweets couldn't resist.

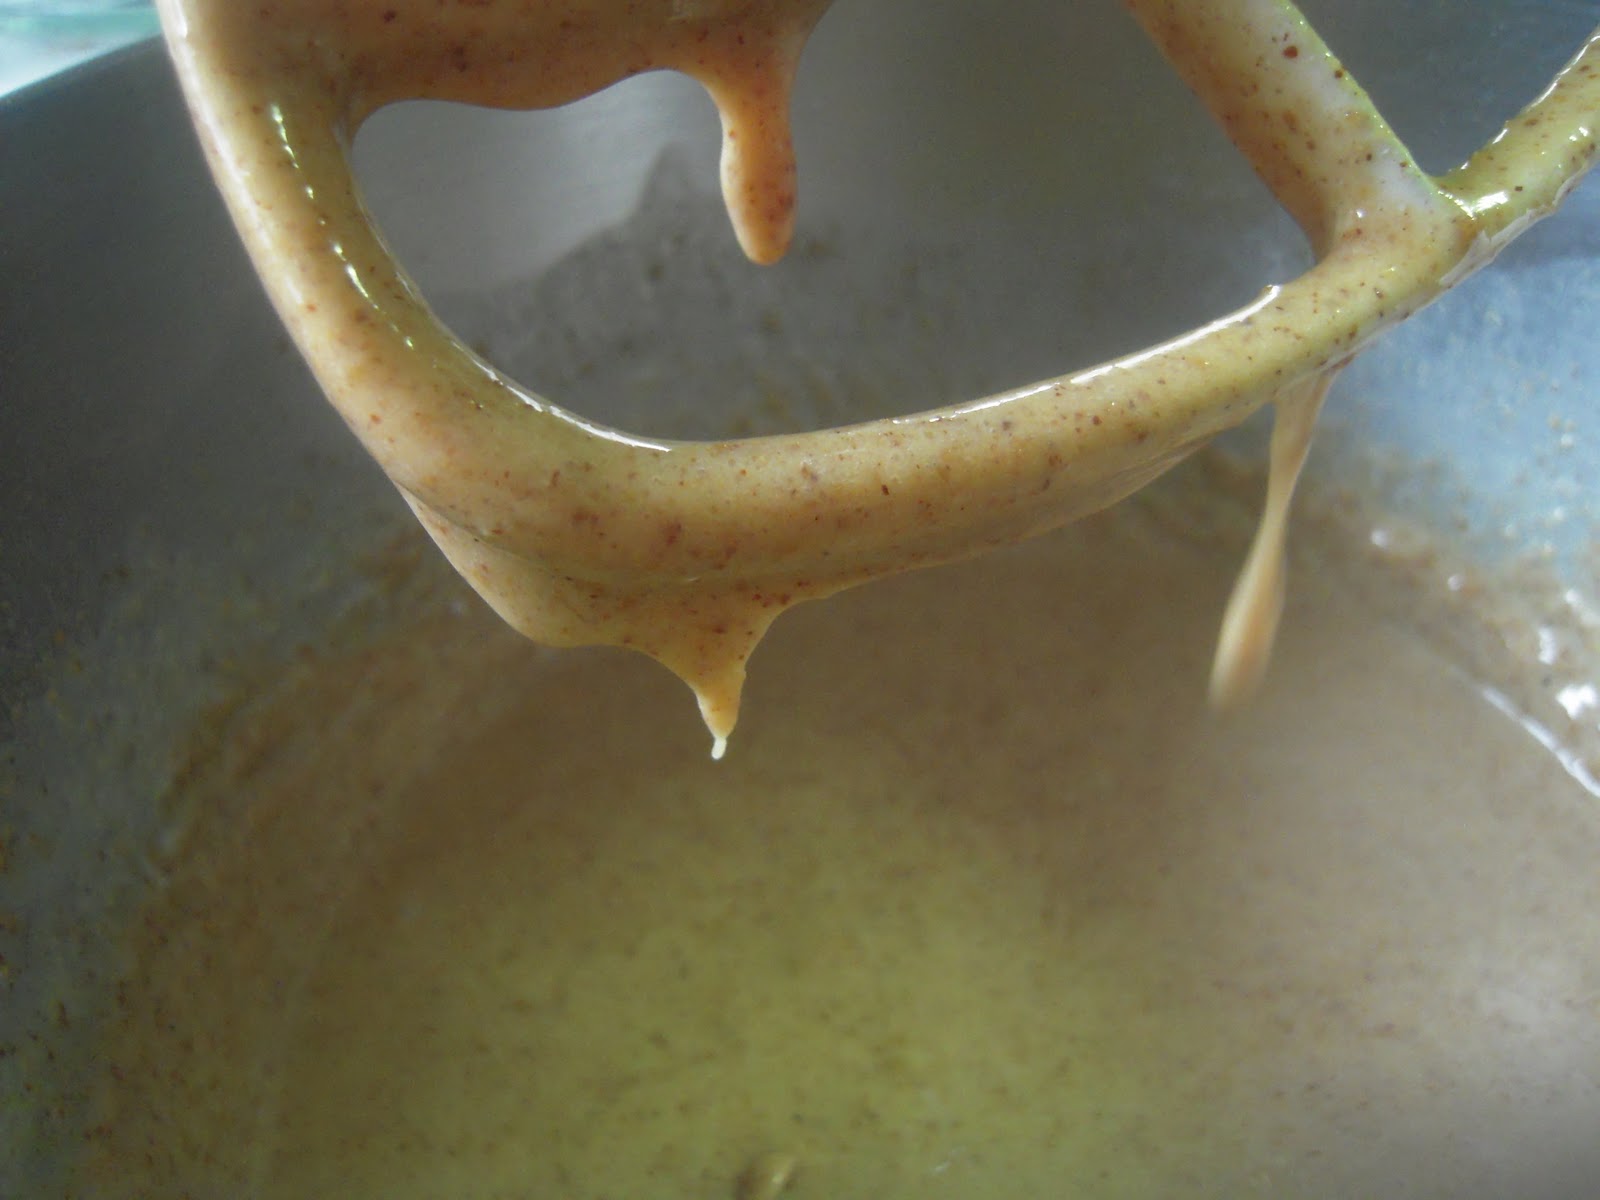
Oh, as far as the recipe goes. I got a little over excited and didn't allow the syrup to thicken enough in the beginning but then decided to put it back on the stove top. So when you look at the preliminary pictures, the glaze does look liquidy so please imagine it being more of a thick syrup. Thanks! Oh yeah, and I definitely cut this recipe in half so that I could get 6 servings rather than 12.

Heirloom Apple Dumplings
by MySistersKitchen

Crust: The crust is important, so you can’t use a pre-fab freezer crust.
  • 2 c. shortening
  • 4 c. flour
  • 1 TBSP sugar
  • 1 tsp. salt
  • 1 tsp. baking powder
  • 1 egg
  • 1/2 c. cold water
  • 3 TBSP lemon juice
  • Mix flour, sugar, salt, and baking powder in a large bowl,
 
then cut in the shortening (we use butter).
 
  • Add egg, water, and lemon juice, and work into the dough until just smooth. Refrigerate.

Filling:
  • 12 tart baking apples, peeled & cored. (You want the apple to be whole, so if you use the peeler/slicer/corer, which we always do, keep the apple together.)
  • 1 TBSP brown sugar per apple
  • 1 pinch cinnamon per apple
  • 1 tsp. butter per apple

Sauce:
  • 2 c. water
  • 1 c. sugar
  • 2 TBSP butter
  • 1 tsp. cinnamon
  •  Combine sauce ingredients in saucepan, cook 3 minutes over medium heat until sugar and butter are melted.

To assemble:
  • Divide the dough into 12 balls. Roll out a ball into a circle about 8-10 inches across. Lay carefully into individual pie plate (we use the disposable tins–about 4 ” across.) Set whole apple into crust, put brown sugar, cinnamon and butter into center hole. 
  • Wrap the dough circle up around the top of the apple and pinch dough closed. Pour a few spoonfuls of sauce over top.
  • Place dumplings on cookie sheet lined with foil. Bake for 8 minutes at 475ºF, then reduce oven to 350ºF and cook for 45 minutes until the apples are soft and the crust is golden.
  • If serving immediately, let cool to an edible temperature, then serve in tins or on plates, with scoop of the best vanilla ice cream you can find.

  • If storing, let cool completely, then wrap each tin/dumpling in aluminum foil and place in a freezer bag. When ready to serve, remove from freezer and let sit on counter for 30-60 minutes, then place in a 400ºF oven until heated (it’s already cooked, remember–just needs reheating.)
  • A note on portions: For someone who is behaving with moderation and discretion, these dumplings are a good size to SPLIT with another person. If, however, you are like US, you will cast discretion to the wind and snarf the whole thing by yourself. A word to the wise….

10.26.2010

Perfect Chocolate Chip Cookies

A couple weeks ago, Brad and I started to watch a very yummilicious episode of America's Test Kitchen and how to make some delicious cookies. One that really caught our eye were the "Perfect Chocolate Chip Cookies" because they sounded oh so tasty while describing the baking process on t.v. and looked even better.
 
A moist, chewy cookie with toffee flavors and crisp edges? Yes, your mouth can start drooling now.

So I bought the Ghiradelli chips (they had done a taste test in the same episode and described the dark chocolate flavor with layers of chocolate rather than sporadic chips) but for this reason and that wasn't able to make a batch. That was until this past weekend. We were getting ready to go on a 6 hour road trip to Clare, MI for an old GLMers wedding  (Congrats again Wave and Ginger!)  and I knew we were going to need something to snack on. So, at 9 pm at night I began to construct the "perfect cookie".
Problems? Only one, I have having trouble getting my butter to that rich, warm, brown color however that may have something to do with the fact that I was using margarine rather than real butter. Though the dough offered toffee flavors, the end result only had a hint. One the other hand, So. Many. Compliments! Etch got addicted to them over the weekend and Jumpin' Jack continued to fixate on them for moments after eating one, thinking of how they would taste in a variety of different scenarios and situations. We all decided that these were very close to the best, if not, THE best chocolate chip cookie. Soft, chewy, thick, delicious...I can't wait until I make them again, and I know a large number of people who feel the exact same way.
 
As I mentioned, I did use the recommended chips, Ghiradelli 60% cacao as well as only baked one tray at a time. Perfection!


Perfect Chocolate Chip Cookies:
by America's Test Kitchen

Rich and buttery, with their soft cores and crispy edges, chocolate chip cookies are the American cookie-jar standard. We wanted to refine this recipe to create a moist and chewy chocolate chip cookie with crisp edges and deep notes of toffee and butterscotch to balance its sweetness—in short, a more sophisticated cookie than the standard bake sale offering.

Melting a generous amount of butter before combining it with other ingredients gave us the chewy texture we wanted. Since we were melting butter, we browned a portion of it to add nutty flavor. Using a bit more brown sugar than white sugar enhanced chewiness, while a combination of one egg and one egg yolk gave us supremely moist cookies. For the crisp edges and deep toffee flavor, we allowed the sugar to dissolve and rest in the melted butter. We baked the cookies until golden brown and just set, but still soft in the center. The resulting cookies were crisp and chewy and gooey with chocolate, and boasted a complex medley of sweet, buttery, caramel, and toffee flavors.


Makes 16 cookies

Avoid using a nonstick skillet to brown the butter; the dark color of the nonstick coating makes it difficult to gauge when the butter is browned. Use fresh, moist brown sugar instead of hardened brown sugar, which will make the cookies dry. This recipe works with light brown sugar, but the cookies will be less full-flavored. For our winning brand of chocolate chips, see related tasting.
Ingredients
  • 1 3/4 cups unbleached all-purpose flour (8 3/4 ounces)
  • 1/2 teaspoon baking soda
  • 14 tablespoons unsalted butter (1 3/4 sticks)
  • 1/2 cup granulated sugar (3 1/2 ounces)
  • 3/4 cups packed dark brown sugar (5 1/4 ounces) (see note)
  • 1 teaspoon table salt
  • 2 teaspoons vanilla extract
  • 1 large egg
  • 1 large egg yolk
  • 1 1/4 cups semisweet chocolate chips or chunks (see note)
  • 3/4 cup chopped pecans or walnuts, toasted (optional)
Instructions
1. Adjust oven rack to middle position and heat oven to 375 degrees. Line 2 large (18- by 12-inch) baking sheets with parchment paper. Whisk flour and baking soda together in medium bowl; set aside.
2. Heat 10 tablespoons butter in 10-inch skillet over medium-high heat until melted, about 2 minutes.
Continue cooking, swirling pan constantly until butter is dark golden brown and has nutty aroma, 1 to 3 minutes. Remove skillet from heat and, using heatproof spatula, transfer browned butter to large heatproof bowl. Stir remaining 4 tablespoons butter into hot butter until completely melted.

3. Add both sugars, salt, and vanilla to bowl with butter and whisk until fully incorporated. Add egg and yolk and whisk until mixture is smooth with no sugar lumps remaining, about 30 seconds. 
 
Let mixture stand 3 minutes, then whisk for 30 seconds. Repeat process of resting and whisking 2 more times until mixture is thick, smooth, and shiny.
 
Using rubber spatula or wooden spoon, stir in flour mixture until just combined, about 1 minute.
 
Stir in chocolate chips and nuts (if using), giving dough final stir to ensure no flour pockets remain.
4. Divide dough into 16 portions, each about 3 tablespoons (or use #24 cookie scoop). Arrange 2 inches apart on prepared baking sheets, 8 dough balls per sheet. (Smaller baking sheets can be used, but will require 3 batches.)
5. Bake cookies 1 tray at a time until cookies are golden brown and still puffy, and edges have begun to set but centers are still soft, 10 to 14 minutes, rotating baking sheet halfway through baking. Transfer baking sheet to wire rack; cool cookies completely before serving.
 

9.30.2010

Almond Butter Cake

Since today is the last day of September, it seems somewhat fitting for me to take the time to transport you towards the beginning of the month for my brother's birthday. A few months before, he had asked if I would be able to make an Almond Butter Cake as he is a huge fan of almond butter. I gladly took the challenge and was awaiting anxiously for the 12th to come. I figured I could use almost any kind of peanut butter cake recipe since almond butter is made in the same way. Some called me crazy, saying that they didn't think it would work due to the texture difference between the two but I was determined to try it. Especially since cakes make from almond butter are hard to find (though cakes made from butter and almond extract/paste are in an abundance).
Anyway, so the day came I decided to try my own variation of Ms. Paula Dean's Peanut Butter Cake. Now, the reason why I didn't post this recipe right away is because I'm still kind of unsure how this whole cake was received. Granted, people said that they enjoyed it (and/despite it's richness) but when I came time for my brother to go home, he asked if he could leave it here so that he didn't have to carry it while he rode his bike/walked (I don't remember the mode of transportation he took that night, I just know it wasn't a car). I said sure and off he went with his girlfriend and another friend of ours.
 
Fast forward to three days later and the cake was still sitting on our counter...3/4 full. We weren't eating it because we thought my brother was coming back and my brother just never came back despite the fact that we basically live down the street from one another. So come Wednesday I made the executive decision to cut some of the cake and leave it for my brother, eat a couple of pieces ourselves then haul the rest over to Michigan for my family to enjoy as we were making a quick trip to my homestate. By this time, the cake obviously was starting to loose some of it's peak flavors but it was still received well. So was this a success? Um, yes?


Almond Butter Cake
recipe adaptation from Paula Deen's Peanut Butter Cake

  • 1 cup all-purpose flour
  • 1 cup plus 2 tablespoons sugar
  • 3 1/2 teaspoons baking powder
  • 1 teaspoon salt
  • 2 cups graham cracker crumbs
  • 1 cup Almond butter
  • 1/4 cup butter
  • 1 cup plus 2 tablespoons milk
  • 3/4 teaspoon vanilla extract
  • 1/4 teaspoon almond extract
  • 3 eggs

Directions

  • Preheat oven to 375 degrees F if baking with a metal dish; 325 degrees F if using a glass dish.
  • Sift flour, sugar, baking powder, and salt together. Add graham cracker crumbs
  • Cream almond butter and butter together. 
  • Add one egg at a time, mixing until combined before adding the next egg. 
  • Alternate sifted dry ingredients with milk and vanilla mixture (dry, wet, dry, wet, dry). 
  • Beat mixture with electric mixer on low until moistened, and then beat on medium for 2 minutes. 
  • Bake in greased 9-inch by 13-inch pan for 30 to 35 minutes.  
  • Do not remove from pan to cool.

Now, as far as the frosting goes..that was a headache. I had a very hard time getting it to the texture that I liked so I'm not even sure what I ended up adding here and there. But basically, I creamed almond butter together with a little shortening and chocolate along with some vanilla and almond extract then began to add powdered sugar, heavy cream, and cocoa powder until it was a decent taste and texture

9.29.2010

Fried, Sweet Plantains

Yes, I have finally figured it out. After years of frying plantains in oil, wondering why they never come out as nice and sweet as in the restaurant, I have now seen the light! And the answer to this age old mystery is....Butter!
You see, an old friend of mine names Heidi first showed me how to fry plantains and they were quick tasty and since then, that was the only way I did it. However, the more I ordered plantains out and the more I attempted to recreate at home the more I realized the way I fried plantains wasn't the "correct" way at all to get sweet plantains. Granted, frying in oil is still completely legit as there are numerous ways to fry plantains but if you want that golden, soft, sweetness then butter is the key.

Ready for one of the easiest recipes on earth?


Fried Sweet Plantains

  • Take your very ripe plantain (remember, this is a plantain we are talking about so the darker the better/sweeter) and peel it.
 

  • I usually take a paring knife and slice the skin from top to bottom to peel it off as plantain skin is thicker than bananas.


  • Cut as desired. I like spears but discs are fine as well

  • Melt 1-2 Tbsp butter in pan. Place plantains in pan and fry. After about a minute, turn plantains, revealing a golden "skin". Continue to fry evenly, adding a sprinkling of brown sugar to the plantains/pan in its final moments, allowing the sugar to caramelize.

  •  Allow to cool slightly. Serve warm and enjoy!


8.21.2010

Congratulations Dave and Nicki!


Yes, it is true. Two of our good friends, David and Nicki, are about to have a little baby girl! Today was Nicki's baby shower and I was fortunate enough to be able to make the cake.

Nicki is your classic and traditional kind of girl who loves chocolate and white (or yellow) cakes and that is exactly what she got!


With the way that the batter turned out, I ended up doing a three layer cake. The bottom layer was a white cake with vanilla frosting, then came chocolate with chocolate, and topped with a white and chocolate.  
Now I have to admit that I began to run out of time because the day before I didn't prep as much as I could have, and possibly even should have so I wasn't 100% completely satisfied but I was content. Lucky for me, everybody at the shower seemed to love it.


One mistake I did make though, I misspelled Sofia's name! Up until three days ago, I could have sworn that Sofia was with an "f", but then I started doubting myself and then convinced myself that no, they had decided on "ph". Hah, yeah, I should have gone with my first instinct. Whoops. Luckily for me, the parents to be told me not to worry, and that they themselves had had that discussion about which letter to use. Just goes to show you, when in doubt, check it out!


8.04.2010

Mango Lassi

During my studies at Biola, I discovered the wonderful world of Indian culture. It first started with the movie, Bend it Like Beckham. I loved the music, the dance, the clothing...and then I was introduced to Bollywood through the movie "Mujhse Dosti Karoge" ("Let's be friends!"). My interest was peaked! Singing and Dancing throughout a movie!? Awesome!

Anyway, I ended up researching Indian Culture even more so that I could showcase it during our Missions Conference where students are challenged to think globally.  During this time, my friends and I made a trip to Artesia, otherwise known as "Little India", to try out the food so that we could possible recreate it for the entire student body.
A couple of my friends and myself celebrating the Indian holiday of Holi

During one of these trips, I tried my first taste of mango (to my knowledge) in a sweet, cold, beverage called a "Lassi" A Lassi is a traditional South Asian yogurt based drink; similar to an American smoothie but much smoother. It was delicious and a couple weeks ago, while looking at the low prices of mangoes, that I was attempting to rack my brain with something "new". It was also quite hot and I was craving a sweet cool beverage...that's it! Mango lassis! Perfect!

I came across a blog then called "My Dhaba", a blog by a "Chef de Cuisine" bouting traditional Indian cuisine. Upon looking at the recipe, I realized how simple and easy it was to make. I made some for our friends a couple days later and then a week later, when staying my in laws I saw a couple of mangoes just calling out. Knowing my sister in law also loves mangoes, I decided to whip us up a batch of lassis the following day. So far, everyone has enjoyed them, and I hope you do too!

Mango Lassi
by My Dhaba (with comments by myself)

Ingredients:
Curd/Yogurt - 1 cup (I used plain yogurt the first time, vanilla flavored the next. Brad and I agree that plain is best but vanilla wasn't bad.)
Mango pulp - fresh preferred, 1/2 cup (I cut our mango into cubes)
Sugar - 3 tablespoons
Ice - crushed, 1/2 cup
Water - 1/2 cup or as required (Now if you have never had a lassi before, the thickness would be obviously be personal preference)

Method: Blend all and serve chilled.

8.03.2010

Blueberry Buckle

Last week, about this time, Brad sent me an e-mail asking if I could bake him something to take to the barbecue that his work was hosting on Friday. I quickly said yes but then, I have to admit, kind of placed it in the back of my mind due to work. Fast forward to Thursday night, sitting with my co-workers, writing up Medicaid notes when Brad sent me a message. "Did you happen to make a dessert for my barbecue tomorrow?" D-oh!

He offered to stop by Dominick's. I insisted that I would make something as soon as I got home. I flipped through my rolodex of new dessert options when my mind floated to the now 15 lbs of blueberries in our fridge (Boy, I love blueberry picking!). I then recalled a recipe that I have been wanting to try that my mother-in-law had given to me. My tastebuds were getting excited by the minute.

My generous and loving mother-in-law holding her great nephew 
(not my picture but it's one of my favorites!)

 I unfortunately didn't get home until after 11pm but hey, I was committed. As I was reading the recipe, I realized that it called for an 8x8 pan. Since I only have a 9x9 plus Brad was taking this dish to work so I decided to double it to ensure that he had enough. With that said, I am going to post the original recipe, but just know that doubling works well. Because I doubled the recipe, not all of the batter fit in the pan so I used two of my small ramekins to capture and bake up the "overflow". Though the recipe is pretty easy to put together, by the time I got home and settled enough to start throwing things in the mixer, waited for it to bake (which watching my newest documentary on New Kids on the Block-loved it!), and then burning myself pretty fiercely while taking it out of the oven, it was almost 2 am before I went to bed.

So what was the consensus? Was my late night escapade and burn worth it? Brad said that many people loved it. I know I enjoyed the bursts of blueberries between bites of cake, topped with a sweet cinnamon sugar crunch. In fact, some of you who enjoyed this blueberry dessert may even be reading this now, and it is all thanks to my dearest mother-in-law. I too, thought it was pretty delicious. Though I didn't get a taste (or picture) of the larger portion, I did make sure to enjoy the ramekins the following day. :o)


Blueberry Buckle

from my mother-in-law's kitchen


3/4 cup sugar
1/4 cup margarine or butter
1 egg
1/2 cup milk
2 cups flour
2 tsp baking powder
1/2 tsp salt
  • Mix sugar, butter, and egg. Stir in milk.


  • Blend and sift dry ingredients.


  • Blend 2 cups blueberries (by hand or low speed).

  • Grease pan/put some flour in bottom of 8x8 pan. Pour batter into pan.


Topping:
1/2 cup sugar
1/3 cup flour
1/2 tsp cinnamon
1/4 cup butter or margarine
  • Crumble over top of blueberry batter.


  • Bake 40-50 minutes at 375 degrees.

8.02.2010

Sopes!

During the month of July, our small group decided to take a break from our studies and have more "social" nights. Julia and Jeremiah offered to host one of these nights and declared it a Tapas Party. Well I thought that idea was perfect, not because it just sounds like a lot of fun but because I was eyeing some sopes the other day and thought this would be a perfect opportunity to try my hand at making them.


In my previous search in finding a recipe, I came across What can I pass you's blog where she was showcasing her own experiences with Sopes. According to What can I..., this recipe makes about 8 sopes. However, because we were going to a tapas party, i made ours into more bite size pieces so we ended up getting about 24 sopitos (little sopes). I thought that these were pretty easy to put together. Of course Brad and I were running late from opening a new bank account and I was rushing the beans so they didn't turn out at smooth and creamy as they should be. But other than that little hiccup, I think they turned out pretty well and the people at the party loved them.  We topped ours with beans, taco meat, shredded lettuce, and diced tomatoes, and had some queso fresco on the side for those who wanted some cheese. Like I said, they turned out great, but a word of warning...they do not reheat well. So enjoy them while they are hot and fresh.

Sopes
dough recipes from What Can I Pass You...

• 2 cups masa harina
• 1 3/4 cups of water
• pinch of salt
• 1 teaspoon of baking powder
• vegetable oil for frying (if you want to be strictly traditional, use lard)

Mix together all dough ingredients, except oil or lard. Knead until thoroughly combined.


Cut dough in half, divide each half into 4 portions. Form each piece into small balls.

Flatten each ball into a 3 inch circle using a rolling pin, the bottom of a plate or a tortilla press between 2 pieces of plastic wrap.


Fold sides up about 3/4 an inch. They don't have to be perfect! Prick the bottom of each sope lightly with a fork.

Heat about 1/4 of an inch of oil in a cast iron skillet to about 350 degrees. Fry sopes about 1 minute on each side, or until lightly crispy and slightly golden.


Remove from oil and drain on paper towels.

Top with your favorite Mexican food elements. Serve immediately.